
SharePoint permission configuration is one of the hardest things for end-users to understand. Sometimes it is easier to explain a specific scenario instead of how the entire permissions concept works.

SharePoint permission configuration is one of the hardest things for end-users to understand. Sometimes it is easier to explain a specific scenario instead of how the entire permissions concept works.
SharePoint permission configuration is one of the hardest things for end-users to understand. Sometimes it is easier to explain a specific scenario instead of how the entire permissions concept works.
This article will explain the following scenario:
This scenario would work in exactly the same way if this was a project site.
To start off, we’ll assume that the DW&C department has already created a standard team site.

Our scenario team site has now been updated to have an extra Management Documents library and a calendar.

When creating this site, we created new permissions, which means that SharePoint automatically created the following groups with the following permissions:
| Group | Permission level | Users | Explanation |
|---|---|---|---|
| DW&C Site Visitors | Read | All users | On an intranet, it’s best to give as much read access as possible to ensure transparency and findability. |
| DW&C Site Members | Contribute | All DW&C users | All users in the department should have the ability to influence the information on their department site. |
| DW&C Site Owners | Full control | Owners/admins | Choose a few users to manage the site, i.e. super users. |
Note: some people suggest adding the department’s manager to the Owners group – after all, they are responsible for the department. However, managers should generally be added to the Members group. Specific users should be chosen to manage the site and be added to the Owners group. The managers will get extra access to their specific documents later in this scenario.
In the starting scenario, the users in these groups have access to all of the content on this team site as nothing specific has been configured.
SharePoint objects, i.e. sites, lists, libraries, folders and items, inherit permission from their parent item.
This means that all users also have access to that Management Documents library, which should be kept separate just for DW&C’s management team. To configure that, we will need to set up a new user group.
In SharePoint, it is possible to assign permissions in three ways:
The first two options are fine, in most cases. However, option #3 should generally be avoided. It is much better to create a group and assign permissions to the group rather than assign permissions directly to a user. The contents of the group is far easier to maintain rather than going through and changing a specific user’s permissions.
It is possible to directly assign permissions to AD groups, which does have advantages in some environments. However, when working with an intranet team or project site, SharePoint groups are usually the easiest to work with.
To create a new group for a site, do the following:

Note: the new user group will be available for the entire site collection, not just this one site. You should name it accordingly – in this scenario, I will name it “DW&C Site Management” to keep with the current naming convention.
When creating the group, the current user is set as owner. In most cases, this should be set to the site owners group, so that they can maintain the membership of this group.

I suggest giving this group “contribute” permissions.

Once the group has been created, you can add users to the group by clicking “New” and “Add users”. You should be able to select the applicable management users from the Active Directory by typing in their names, emails or user IDs.

For more information on adding users to a group, please see Manage SharePoint groups.
Now we have the DW&C Site Management user group, but we need to change the permissions on the Management Documents library so that only the Management user group has access to it. To do that, we will need to break the permission inheritance on the Management Documents library.

To change the permissions on the Management Documents library, please do the following:


As a final step, you should determine if the DW&C Site Owners group should retain their permissions. Note that one group will need to have “full control”, so either the Owners group will need to stay or the Management group will need to have their permissions upgraded.
Technet: User permissions and permission levels in SharePoint 2013
Technet: User permissions and permission levels in SharePoint 2010
Office support: Manage SharePoint groups
Technet: Best practices for using fine-grained permissions in SharePoint Server 2013
In the past, it was generally a bad idea to turn the publishing feature on within a team site. It could cause some very strange errors and it was confusing. It also points to that someone hadn’t really thought about how a site was going to be used and chosen the correct template accordingly – team sites and publishing sites are very different beasts.
However, I was curious how well this worked and was implemented in SharePoint 2013.
Testing the team site
I created a new site collection based on the team site template – I’ll use the relative URL of /test1 in the rest of this post.
The default landing page was /test1/SitePages/Home.aspx – this is using the standard Site Pages library which is default for team sites.
Turning on publishing
To turn on the publishing functionality:
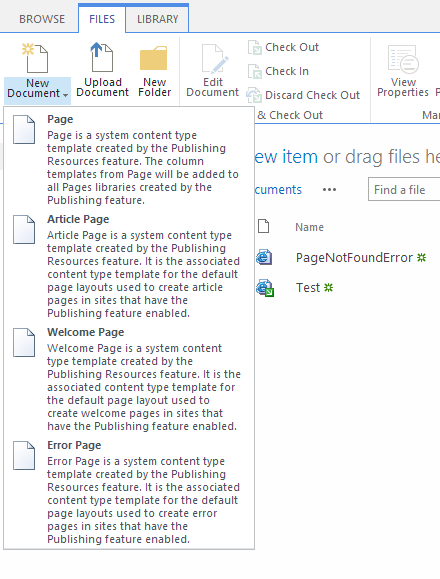
The biggest thing that happens is that you now have two page libraries in the site contents:

Testing the effect of the publishing feature
Now that the publishing feature was activated, I wanted to see what effect it had.
Conclusion: simply turning on the features made no change, besides creating a new Pages library.
Changing the homepage
SharePoint allows you to set a different page in your library to be the “homepage” – this is the page that SharePoint sends you to when going to the basic URL. Currently, if using “/test1”, the browser will go to /test1/SitePages/Home.aspx.
I created a new page in the Pages publishing library and set that to the Homepage.

Now, when going to /test1, the browser redirected me to /test1/Pages/test.aspx.
Conclusion: you can change the default homepage from a page in the the SitePages to a page in the Pages library.
Changing the Add a Page type
On a team site, when using the Add a Page option via the Site Settings, you will create a new page in the Site Pages library. Even after enabling the publishing feature, the Add a Page option still creates a new page in the Site Pages library.
To create a page in the Pages library, you will need to go to the Pages library and do it via the ribbon.
Conclusions
It is certainly possible to turn on the publishing feature on a team site. I did not encounter any strange issues.
However, I still think that it is too confusing for users and unnecessary: simply make a good decision on which site template to use and stick to it!
